Epoxy resin has become a popular material for crafting, DIY projects, and even industrial applications. Its versatility and durability make it an excellent choice for various surfaces, from countertops to furniture.
However, mastering the art of polishing and coloring epoxy resin can take some practice. In this comprehensive guide, we’ll explore the best techniques to achieve a flawless, professional-looking finish for your epoxy resin projects.
Preparing the Epoxy Resin Surface
Sanding and Cleaning
Before you begin the polishing process, it’s crucial to ensure that the epoxy resin surface is properly prepared. Start by sanding the surface with progressively finer grits of sandpaper, usually beginning with 120-grit and working your way up to 1000-grit or higher. This step will remove any imperfections or rough spots, creating a smooth base for polishing.
Degreasing and Decontamination
After sanding, it’s essential to degrease and decontaminate the surface to remove any residual oils, waxes, or contaminants that could interfere with the polishing process. Use a degreasing agent or a solvent like isopropyl alcohol to wipe down the surface thoroughly. Ensure that the surface is completely dry before proceeding to the next step.
1) Polishing Epoxy Resin
Wet Sanding
The most effective method for polishing epoxy resin is wet sanding. Start with a coarse grit sandpaper (around 600-grit) and gradually work your way up to finer grits, such as 1000-grit, 1500-grit, and even 2000-grit or higher. Use a lubricant like water or a dedicated polishing lubricant to prevent the sandpaper from clogging and to achieve a smoother finish.
Buffing and Polishing Compounds
After wet sanding, you can further refine the surface by using polishing compounds and buffing pads. Begin with a cutting compound and a wool buffing pad, followed by a finer polishing compound and a foam buffing pad. This process will remove any remaining scratches and imperfections, leaving you with a mirror-like finish.
The video demonstrates how to sand and polish an epoxy resin coaster for DIY projects.
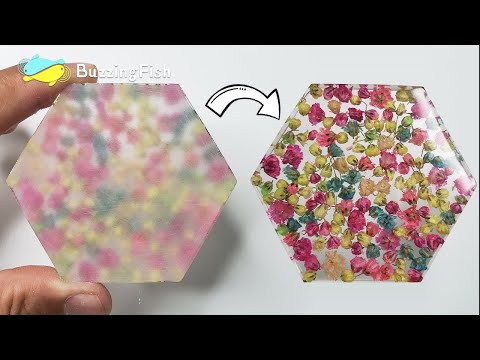
[✨] Progressively use finer grit sandpaper from P150 to P10000.
[👍] Finish by polishing with a polishing paste for a great result.
Explanation of the video:
What is the first step in the polishing process mentioned in the video ?
Roughening with coarse sandpaper is the first step in the polishing process.
How long is each sand polished for in the process described in the video ?
Each sand is polished for 2 minutes during the polishing process.
What is used to polish the surface after going through various grit sandpapers?
A polishing paste is used to finally polish the surface after going through various grit sandpapers.
Also discover: DIY table in epoxy resin: epoxy Table Kit+ advice (+video) ✔
2) Coloring Epoxy Resin

Pigments and Dyes
One of the most exciting aspects of working with epoxy resin is the ability to color it to your desired hue. You can achieve vibrant and unique colors by adding pigments or dyes to the epoxy resin mixture before pouring it.
Alcohol-based dyes tend to produce more transparent and translucent colors, while powdered pigments yield opaque and solid colors.
Layering and Swirling Techniques
To create stunning visual effects, you can experiment with layering different colored epoxy resins or using swirling techniques.
These methods involve pouring multiple colors of epoxy resin into a mold or onto a surface and then manipulating them with tools or by rotating the mold to create unique patterns and designs.
Advanced Techniques
Embedding Objects
Epoxy resin offers the opportunity to embed various objects within its layers, creating stunning and unique pieces.
You can embed items like seashells, flowers, metallic objects, or even photographs, adding depth and interest to your projects.
Textured Finishes
In addition to smooth, glossy surfaces, you can achieve textured finishes with epoxy resin. Techniques like adding silica sand or using special texturing tools can create a range of effects, from subtle patterns to bold, three-dimensional textures.
Safety Considerations
When working with epoxy resin, it’s crucial to take appropriate safety measures. Wear protective equipment such as gloves, goggles, and a respirator mask to avoid skin and eye irritation, as well as inhalation of fumes. Ensure proper ventilation and follow the manufacturer’s instructions carefully.
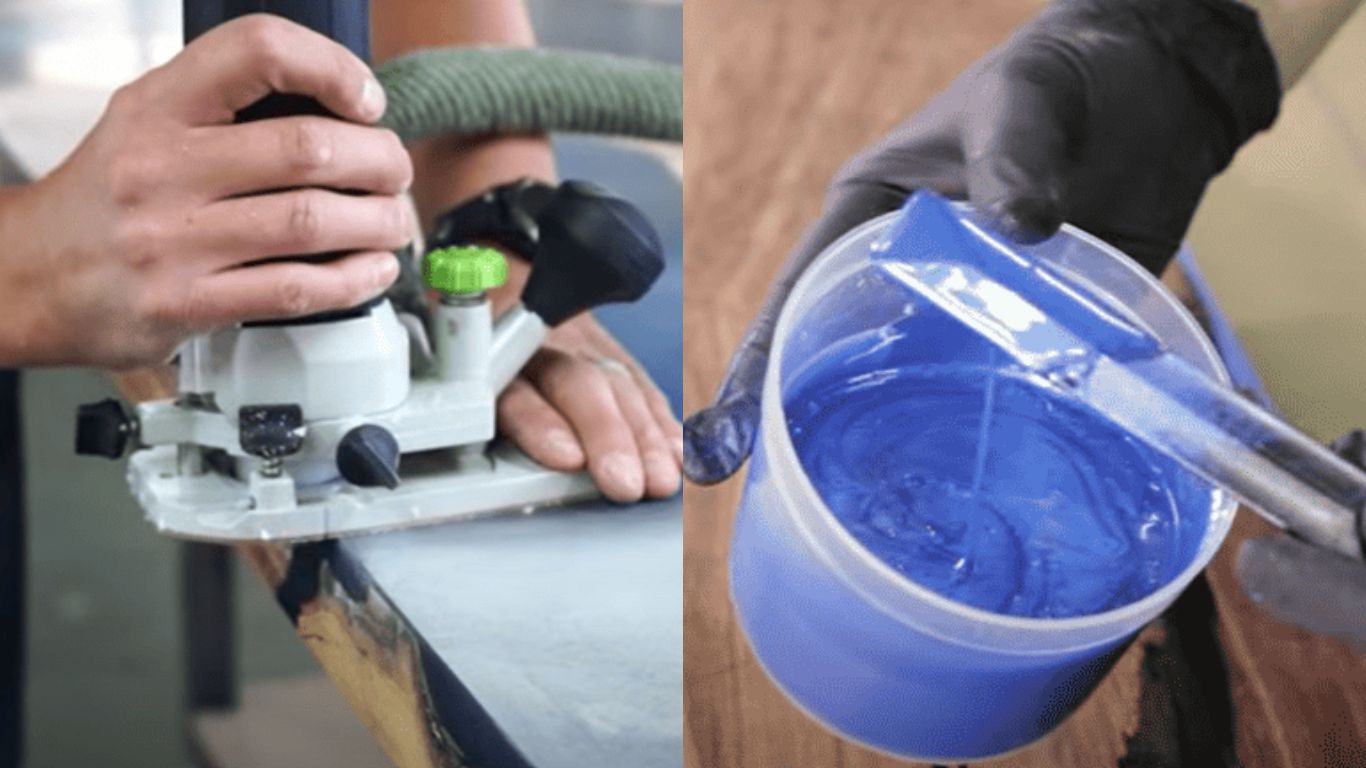
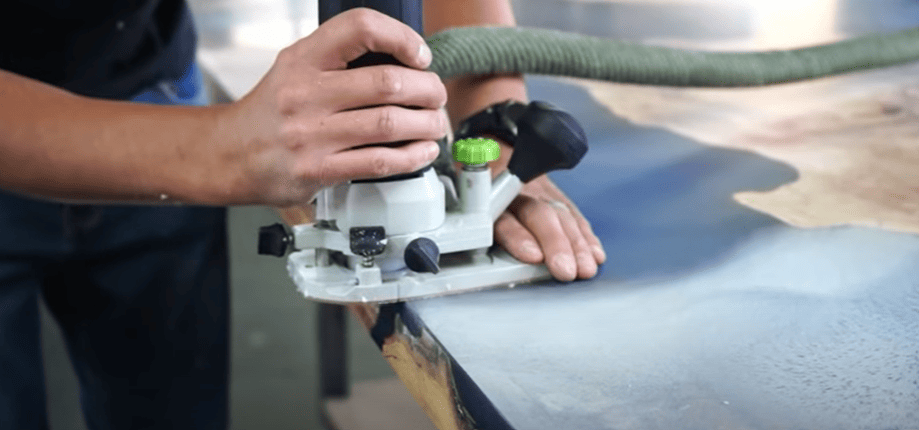
[⚙️] Tutorial on making colored epoxy resin for wooden slabs. VIDEO Advantage Lumber
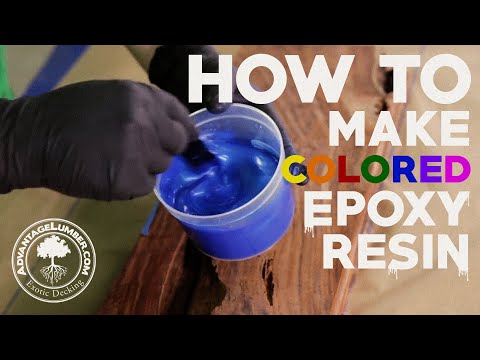
[🎨] Materials needed include epoxy resin, hardener, colorant, mixing cups, mixing sticks, and a propane torch.
[🔥] Process involves mixing resin and hardener, adding colorant, pouring into wood cavities, removing bubbles, and finishing the surface.
Q: What materials are needed for the epoxy colorant project on wooden slabs?
A: West Systems 105 epoxy resin, 207 hardener, ocean blue epoxy colorant, mixing cups, mixing sticks, and a propane torch are needed for the project.
Q: How should the epoxy colorant be mixed for the project?
A: Equal parts of resin and hardener should be mixed together thoroughly until completely opaque before adding the colorant powder in a 1 gram to 1 ounce ratio.
Q: How can surface bubbles be removed during the epoxy filling process?
A: A propane torch can be used to pop the surface bubbles as the epoxy begins to set in the wooden slabs.
Q: What is the finishing process after the epoxy filling is completed on the wooden slabs?
A: After sanding the epoxy, the project can be finished with a stain, sealant, or top coat of choice to enhance its luster and beauty.
Conclusion
Mastering the art of polishing and coloring epoxy resin can open up a world of creative possibilities. With the right techniques and a bit of practice, you can transform ordinary surfaces into stunning, one-of-a-kind masterpieces. Whether you’re a seasoned crafter or a DIY enthusiast, exploring the versatility of epoxy resin is an exciting journey that will unleash your artistic potential.


